
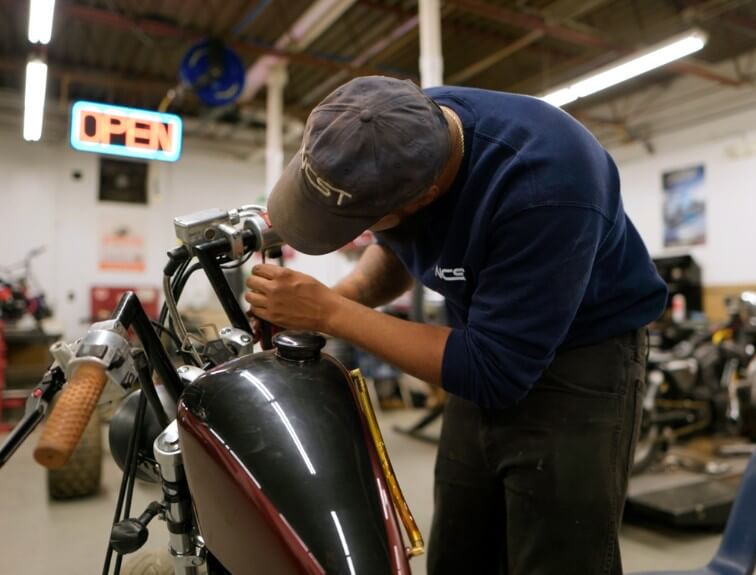
An ATV that won’t start, brakes that grab unevenly, or a cracking body part on the trail require repair work done by people who understand how the machine actually works. Some riders pick up that knowledge through trial and error in a home garage, while others learn it in a structured program like NCST’s Motorcycle & Power Equipment Technology program. At programs like NCST’s, instructors make sure students leave with knowledge on every part of the machines they’re working on. The sections below cover what a good trade school teaches future ATV technicians; plus, the repair and maintenance knowledge every ATV owner should have.
ATV Technician Training
The Motorcycle & Power Equipment Technology program at New Castle School of Trades covers the major systems of power equipment. Students learn to diagnose, troubleshoot, disassemble, and repair ATVs directly. Hands-on lab work builds the skills needed to work on four-wheelers and quad bikes, dirt bikes, motorcycles, and related power equipment.
An ATV is more than an engine. NCST’s training covers every system on a working ATV, from the electrical system to the transmission. Students graduate with working knowledge of how to handle the maintenance and repair tasks that come up across many ATV makes and models, not just one system in one make and model.
Common ATV Problems and How to Identify Them
Engine problems usually show up before an ATV strands its rider. Hard starting, a noticeable loss of power, and unusual noises are the three warning signs technicians check first. These symptoms often trace back to fouled or worn spark plugs, a fuel delivery problem, or worn internal components. Catching them early keeps a simple fix from turning into an expensive rebuild.
Suspension and handling issues show up in how the ATV rides, not just how it sounds. Uneven tire wear, suspension that sags on one side, and excessive bouncing over rough terrain point to worn shocks, struts, or bushings (the rubber or polyurethane parts that cushion metal-to-metal contact in the suspension).
Electrical system failures round out the third common category. A battery, ignition, or wiring problem can cause flickering lights, trouble starting, or accessories that stop working. A weak connection or corroded terminal is often behind all three, and it can usually be traced with the right test tool.
Tools Needed for DIY ATV Repair
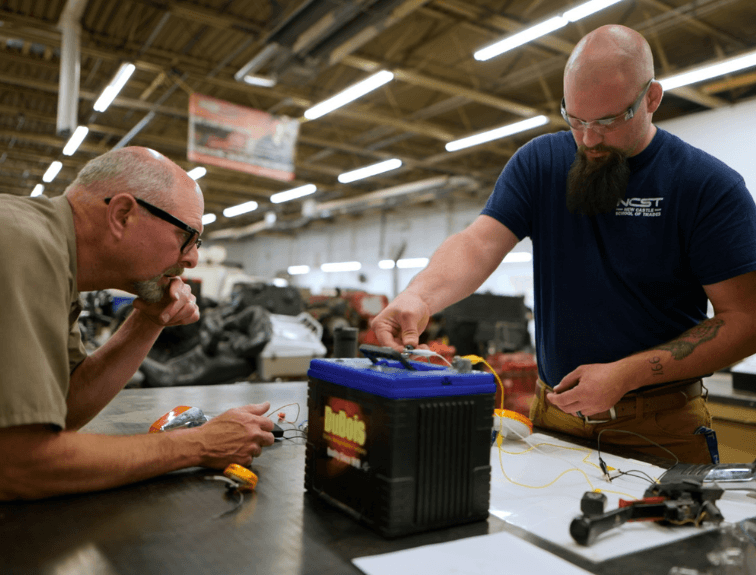
A handful of tools cover most of the repair jobs an ATV owner takes on at home. A multimeter (a handheld tool that measures voltage, current, and resistance in an electrical circuit) is the main tool for tracking down electrical problems, from a weak battery to a bad wiring connection. A wrench set, ideally a socket set with several sizes, handles the nuts and bolts involved in almost every repair job.
A tire plug kit lets a rider patch a puncture without hauling the ATV to a shop, at least for punctures within the repairable range covered later in this article. A tow strap matters for the moments when the ATV won’t run at all, since it lets a rider haul the machine home instead of leaving it on the trail. A test light (a simple tool that lights up when it detects voltage in a circuit) rounds out the basic kit for electrical troubleshooting.
The most important tools a person needs for DIY ATV repair are ones that aren’t talked about often: good pairs of eyes, ears, and hands. A good school will give students the time with ATVs required to develop these sensory tools to the point they need to be. A student can read that they should feel a poor suspension or be able to see flaws in a wiring connection, but without practice they may struggle to identify these things quickly if at all. So, although the tools that can be bought with money are very valuable, the tools a student can only get with time will be their most valuable tools for any DIY repairs they have to make.
Step-by-Step DIY ATV Repair Guides
Not every ATV repair means a trip to the mechanic. When a part is already worn, damaged, or broken, these step-by-step fixes are simple enough for a complete beginner to handle at home.
Replace Brake Pads
Brake pads need replacing once they show significant wear or when the ATV’s braking feels weaker than normal. The job starts with removing the wheel, then the caliper (the component that clamps the brake pads against the rotor to slow the wheel). Swap the worn pads for new ones, reassemble the caliper and wheel, and test the brakes at low speed before riding normally again.
Make sure that the test before driving normally is thorough, brake failure caused by improper installation can lead to serious harm or even death in some cases. Beginners who are even slightly unsure about if their brakes have been installed correctly should consult a professional.
Repair ATV Plastic
Faded, scratched, or cracked plastic body panels are common on ATVs that see regular trail use, and total replacement isn’t the only option to fix these issues. Restoring faded plastic, filling scratches, and repairing small cracks, then painting and finishing the panel, often costs less than buying new body parts and can leave the ATV looking close to new.
Small cracks in body panels pose the risk of developing into larger cracks, so although a repair like this may seem cosmetic now, if it’s ignored the ATV may lose crucial body panels required to shield parts from mud and water. Most DIY fixes on ATV plastic rely on kits made for specific types of repairs. A repair may need a plastic welding kit, or just a fiberglass filler kit, but they’re all quite easy to use as long as the product’s instructions are followed to the letter.
Repair the Seat
A torn or cracked seat is a similar story. Minor damage can be patched directly, while a seat with major tears usually needs full reupholstering to hold up over time. A seat protector, a cover that shields the seat from sun and moisture, is a cheap way to prevent that damage before it starts. Although this is technically preventative care, it still falls into DIY repair because seat covers can be easily installed and they can save a lot of money down the line.
Routine Maintenance to Reduce ATV Repair Costs
Routine maintenance is different from repair: it’s done on a schedule, before anything breaks, and it costs far less than fixing a problem after the fact. The checklist below covers the tasks that keep small problems from turning into expensive ones.
| Maintenance Task | Why It Matters | How Often |
| Oil and Filter Change | Keeps engine components lubricated and reduces wear | Per the owner’s manual, typically every season or set number of hours |
| Air Filter Cleaning/Replacement | Protects engine performance and lifespan | Check regularly; clean or replace as needed |
| Tire Pressure Check/Fill | Reduces uneven wear and handling problems | Check before every ride |
| Coolant Flush/Refill | Prevents overheating | Check regularly; top off as needed |
| Washing | Prevents rust and buildup that affects engine performance | After rides in mud or wet conditions |
When to Call a Professional
Not every ATV problem belongs in a home garage. Some repairs call for a professional’s training and equipment, and knowing the difference protects both the rider and the machine.
Persistent knocking sounds, frequent overheating, or a significant, ongoing loss of power point to internal engine damage, the kind involving pistons, crankshafts, or other components a home mechanic can’t safely access. Attempting that repair without the right training can turn a fixable problem into a total loss.
Structural or frame damage falls into the same category. A bent or cracked frame should never be repaired at home, since an improperly repaired frame can affect handling and even fail while the ATV is in use. That risk makes this one of the clearest cases for professional work.
Every ATV owner faces the same three options when something breaks: repair it themselves, hire a professional mechanic, or replace the machine. The table below breaks down when each option makes sense.
| Option | Best For | What It Requires |
| DIY repair | Oil changes, air filter cleaning, tire plugs, brake pads, plastic and seat repair | Basic tools, a repair guide or owner’s manual, and time |
| Professional mechanic | Major engine problems, structural or frame damage, complex electrical faults | Specialized diagnostic equipment and training |
| Replacement | Damage extensive enough that repair costs approach or exceed the ATV’s value | A decision based on repair estimates versus the machine’s value |
Knowing which column a problem falls into is itself a skill, and it’s one built through hands-on training rather than guesswork. If a DIY repair puts someone in danger at all, don’t hesitate to reach out to professionals. Saving money by doing a DIY repair is never a valid excuse for accepting unnecessary risk!
Prepared for Any Career
Employers look for ATV technicians who can troubleshoot complicated issues and who are versatile enough to repair other types of power equipment. That’s why NCST built its ATV training into the larger Motorcycle and Power Equipment Technology program, which also includes coursework in:
- Technical and Applied Math
- Customer Service
- Business Management
- Job Search and Survival
- Prints and Schematics (technical drawings that show how a machine’s parts and systems fit together)
Students also have access to financial aid, job placement assistance, resume help, and personal counseling while they’re enrolled.
Get Started with New Castle School of Trades
New Castle School of Trades has trained students for skilled trades careers since 1945, including technicians for the ATV and power equipment repair field through its Motorcycle & Power Equipment Technology program. Instructors pair classroom coursework with hands-on lab time, so graduates leave with practical experience diagnosing and repairing the machines they’ll work on in the field.
Learn more about the Motorcycle & Power Equipment Technology program, including class schedule and start dates.